The Beginners Guide to Hemming with a Sewing Machine

When you’re new to sewing a lot of guides can come across as confusing and ultimately put you off trying new techniques and stitches. Here at Sewing Direct, we aim to keep our guides as simple as possible to ensure that everyone has a chance to learn a fantastic life skill.

How to hem with a sewing machine is one of the most popular questions we get asked, which is why we have put together this guide. In 4 simple steps, we will teach you to single-fold hem with a sewing machine, as this is the most useful technique. This is because it can be used on woven and knit fabrics. 

Make Sure your Fabric Edge is Finished in some Capacity

The reason for this is simple, as the single hem is just a single fold of fabric, nothing gets enclosed. So with this in mind, by having the edge of your fabric finished in some sort of way you can improve the presentation. It will also help to prevent knit fabric from unravelling or woven fabric from fraying.

Use your sewing machine to run a zigzag stitch along the edge of your fabric to tidy it up in a quick and easy way.

Measure the Hem Allowance

We would recommend using a seam gauge to measure your hem allowance as it is the most accurate. You can also use a tape measure but be sure to double-check your measurements. Single fold hem would typically see a 1 cm and 1.5 cm allowance, however, deeper single hems have also been turned too. 

Regardless, it is important to remember that there will be one line of visible stitching on the right side of the fabric at the edge of your fabric’s raw edge.

Apply Pressure to the Single Fold Hem

Now you need to apply heat and pressure to the fabric in order to create a crisp fold to your hemline. Using an iron, press down on the fold whilst being careful not to knock any of the pins holding the hem in place. These are what are holding the fabric in place at the length you measured before.

Sew your Hem with a Sewing Machine

The final step is to begin sewing your hem allowance into place. By sewing a stitch line that is 2mm or 3mm less than your hem allowance, you ensure that it is securely caught in the stitches. To guarantee a straight stitch, use the marked lines on your sewing machine’s footplate. Sew with a medium-length stitch around the hem as you gradually pull the fabric through the machine.

Be sure to use a thread that suits the colour of the fabric you are hemming.

Need more Sewing Machine Advice? Get in touch today

If you need more guidance on not only how to get the most out of your sewing machine, but also how to take proper care of it, please get in touch with us today. Here at Sewing Direct, we treat all sewing machines as if they were our mothers, so you can be sure we will handle your pride and joy with due care and attention.

5 Sewing Projects Worthy of The Great British Sewing Bee

The new 2023 season of The Great British Sewing Bee is finally upon us. As you can imagine, we’re huge fans of the program – it’s full of everything we hold near and dear to our hearts at Sewing Direct. Some of our absolute favourite sewing projects have come out of this event, and we’re excited to see what the latest batch of contestants can cook up this year.

With that in mind, now is the perfect time to pick out some great sewing project ideas that we can’t stop thinking about. As it’s Great British Sewing Bee season, now is the perfect time to get creative and pick up a new project to work on!

Try These 5 Sewing Project Inspired by Sewing Bee Creations

The Great British Sewing Bee is all about testing contestants’ raw ability, creativity and technical sewing skills. As such, there’s an element of challenge that really brings their creations to life.

The below 5 project ideas fit this mould, so feel free to pick one out to test your own abilities!

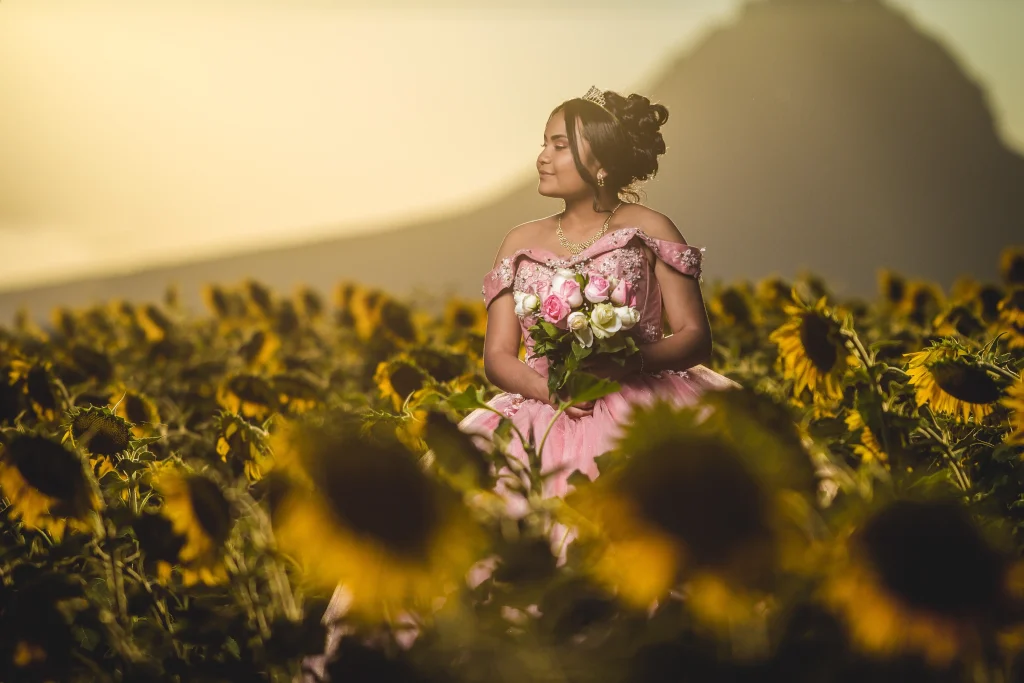
Woman in a pink ballgown and tiara holding a bouquet of flowers in a sunflower field

1. Couture-inspired Evening Gown 

Create a showstopping evening gown with intricate details such as hand-sewn beading, lace appliques, and expertly constructed draping. 

This is a challenge certainly not for the faint of heart; your precision sewing, fitting skills, and ability to work with luxurious fabrics will all be tested. However, it’s a challenge that can be extremely rewarding with enough patience and dedication.

2. Tailored Men’s Suit 

Nothing beats a classic. The tailored suit project is a popular challenge, as it requires excellent pattern matching and attention to detail, as well as a strong understanding of tailoring techniques.

Fitting the trousers, jacket and shirt to a model’s proportions is a great way to flex your tailoring skills and develop them further. With some practice, mastery is not out of reach!

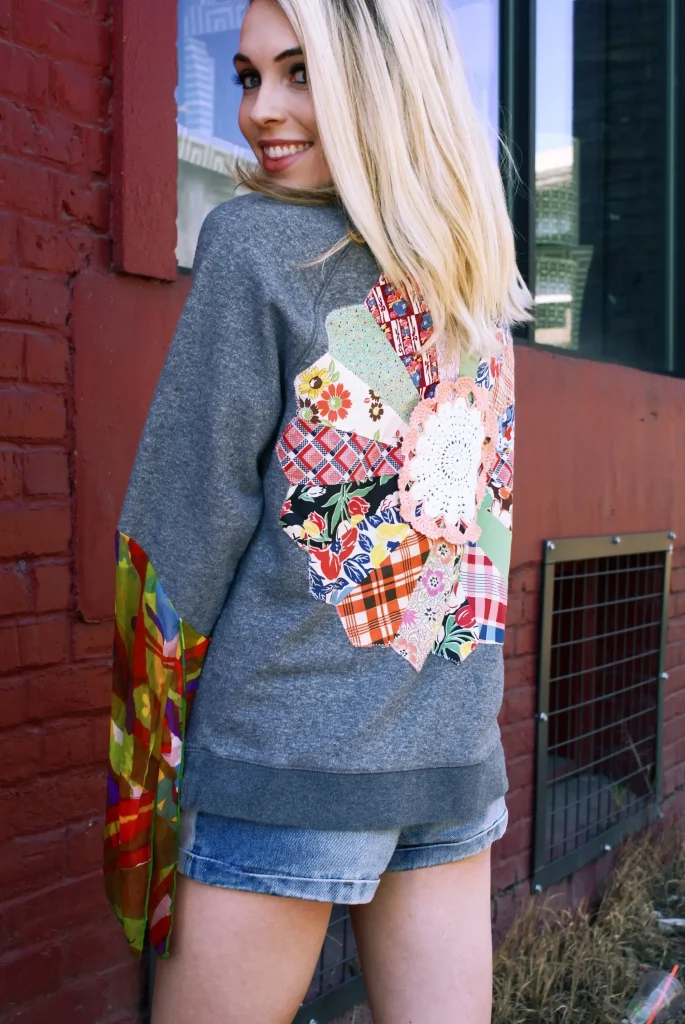
Blonde woman showing off the quilted back of her jumper

3. Innovative Upcycling

Upcycled projects always go down a treat, and they can be as easy – or as difficult – as you want them to be. Taking old garments or textiles and transforming them into fashionable, unique pieces can result in some truly irreplaceable gems, and it has the added bonus of being a sustainable approach to sewing. It can also give you a newfound appreciation for old clothes, so pick out some unused pieces and engage those problem-solving skills – this one will test your ability to repurpose materials effectively while maintaining a high standard of craftsmanship.

4. Artistic Patchwork Quilt 

Patchwork is a passion of ours at Sewing Direct. There are more ways to go right than wrong with these sorts of projects, and while not ‘garments’ per se, they’re still a brilliant way to test and develop your sewing skills. 

Choose a variety of fabric combinations and work to piece them together in a complex but visually satisfying pattern. Quilting can be an intricate process, so read our beginner’s guide to quilting with a machine if you need a hand getting started.

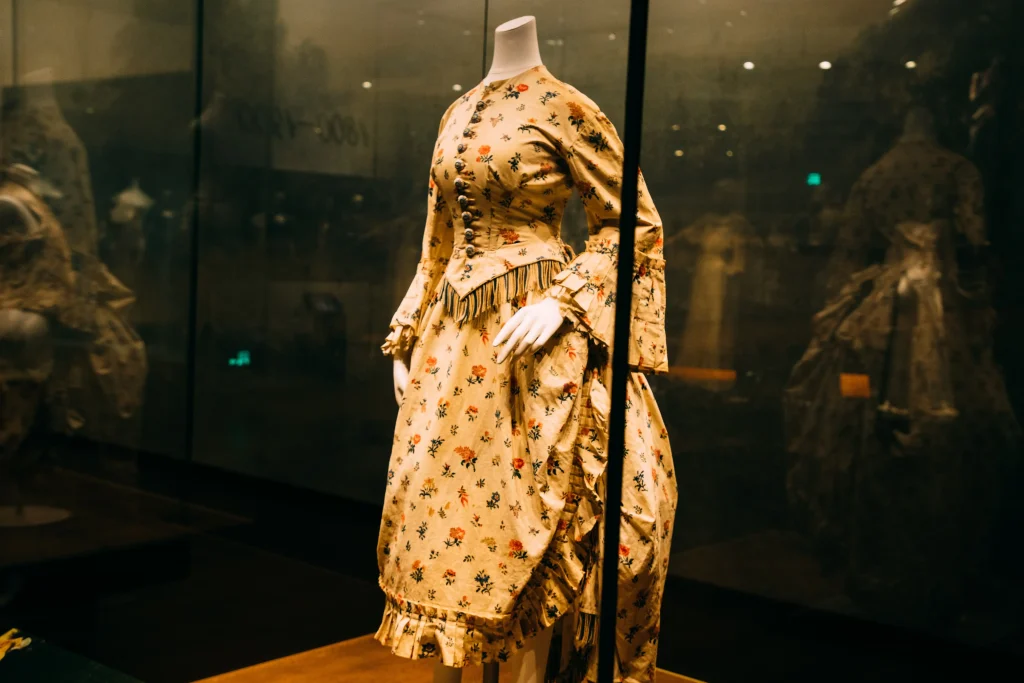
Floral vintage dress in a glass display case

5. Historical Costume Reproduction 

This is one that always seems to come up each year on the Great British Sewing Bee, and with good reason. It’s the perfect challenge for pushing you out of your comfort zone by recreating an outfit from a past time, such as an Elizabethan gown or a Victorian frock. 

In addition to testing your research skills, it requires attention to historical details and encourages you to experiment with techniques you won’t be able to use elsewhere. If you’re feeling inspiration strike at the thought of it, this may be one for you!

What Sewing Machines Do They Use on the Sewing Bee?

We’re often asked what machines we’d recommend based on what contestants use on The Great British Sewing Bee.

While they use a variety of home sewing machines, there are a few standouts that we can recommend if you’re looking to take your projects to the next level. See our blog on sewing machines fit for the Sewing Bee to find out more.

Bring Your Sewing Creations to Life with Sewing Direct

Feeling inspired? You’re in the right place!
Get into the swing of Sewing Bee season by exploring our sewing machines and sewing patterns for sale. We have something for sewers of every skill level, so feel free to browse what’s on offer or get in touch with us if you’d like some advice on picking out the perfect product.

Quilting 101: Learn all about Paper Piecing

Getting into quilting is a great hobby that yields great results, but with so many different styles and methods it can be difficult to choose your favourite quilting technique.

Paper piecing is a quilting technique that is both effective and a fun challenge, and at Sewing Direct we have created a handy guide to paper piecing to help you get started.

What is paper piecing?

Paper piecing is a way to create fun quilting patterns, sewing fabric to paper for a strong quilt block no matter the shapes of fabric you are trying to use.

Paper piecing allows you to apply patchwork sewing techniques to your quilting project, creating intricate designs and unique patterns. A paper pattern template is used, with fabrics being sewn directly onto the paper to ensure you create the correct shapes while stitching. Once you have finished piecing your quilt together the paper is either torn or washed off of the fabric, leaving you with a quality quilt without any stress.

Now you know what paper piecing is, how do you make it yourself?

How To Do Paper Piecing Quilt Patterns

Paper piecing is great for those wanting to unleash their creativity on their next sewing project. From geometric styles to bold but simple designs, a paper piecing project is only limited by your imagination.

But how do you begin?

When you have your design in mind it’s time to put it to paper. Paper piecing is easiest to create when using straight lines, allowing you to quickly create fun, geometric designs. 

Paper piecing can be started on any regular paper you have lying around. Print or draw your design onto the paper in the exact sizes you prefer, this is because you will be sewing your fabric directly to the pattern. 

Next, you will need to cut out your fabric into large enough sections to cover the area of the pattern you will be sewing it onto, leaving an inch of buffer room along the edges. 

You will need to pin your fabric sections onto the pattern with the face of your fabric facing up underneath the paper pattern. Once all pieces of fabric are pinned and ready you can begin sewing your project together. You may find it easiest to sew one line at a time, trimming edges as you go to avoid any mixups. Don’t forget to press your edges as you go!

What Do I Need for Paper Piecing Projects?

Paper piecing is a form of quilting, so using a sewing machine that you would use for quilting is a great idea. Bernina provides some excellent sewing machines that are perfect for those looking to get into quilting or paper piecing.

When choosing your fabric you should aim to use light fabrics that are easy to sew and press to create outstanding patterns. Quilting fabrics are an ideal choice to get started with your project.

Why not get started with a classic paper piecing star design for your first project? Or keep it simple with an easy geometric pattern.

Get Started Today with Sewing Direct

If you are looking to get started with quilting Sewing Direct is here to help with useful quilting workshops, fabrics and sewing machines that will help you to bring your idea to life.
For more tips and tricks that will help you get started with a paper piecing or quilting project check out our Beginners Guide to Quilting, or get in touch with a member of our friendly team for more information about workshops and products to help with your quilting journey.

The Beginners Guide to Applique

The applique sewing technique is one of the easiest to learn and involves the process of sewing two pieces of fabric together. Thanks to its simple nature, applique is a great way of decorating your favourite fabric household items such as cushions, tea towels, as well as clothes should you want to put your own twist on them. 

It is really easy to get to grips with and with our beginners’ guide, you will be using this wonderful technique in no time. 

How to Applique on a Sewing Machine

The first step to efficiently applique your chosen object is by deciding on the design and the layout. Ensuring that the shapes you go for are not too complicated or fiddly will mean that it will be easier to do. The easier it is to do, the more likely it will turn out to the standard you wish. 

Should you want more detail, you will need to consider how you will obtain the results you want. Decide whether it is best to do it by hand or by machine, does it require buttons or does it need an element of embroidery? 

Prepare your Fabric Ahead of Time

For the best results when you applique, we would recommend that you use fabrics that are of similar weight. Using shapes cut from lighter fabrics sewn onto a heavier material is also fine, but be wary of doing the opposite (heavy onto light).

A common issue to look out for with applique is the possibility of the fabric fraying. The way to avoid this is by using some fusible interfacing that you simply apply to the fabric and then iron onto the main fabric. 

Applique your Shapes to your Fabric

Now that your shapes are all cut out and lightly ironed onto the main fabric using fusible interfacing, it is time to begin sewing. This is the simple part, all you need to do is pin your shapes in place and sew around them.


From this point, the choice of stitch is up to you. For those new to sewing, we would recommend using a simple straight stitch. Zigzag stitches are the middle ground between the aforementioned straight stitch and the traditional satin stitch. The advantages of this are that it covers the raw edges of the shapes, giving your applique a smooth finish around the edges. 

On the large majority of sewing machines you are able to adjust the distance between stitches, whether straight or zigzag, so have a play around with your machine’s settings and work out what distance you prefer. Of course, if you need any help or guidance on how to do this, we are only a phone call away.

Get in touch for more information

If you have any questions about your machine or a specific sewing technique, we would be more than happy to help you with your query. Please do not hesitate to get in touch with us.
For more tips and tricks on how to make your sewing experience more enjoyable, why not visit the Sewing Direct blog? Here you can find guides for all the most popular sewing techniques.

5 of the Best Sewing Accessories

Whether you’re an experienced sewer or merely just starting out, a good way to make the experience more fun, as well as a better standard, is by using sewing machine accessories. With so many on the market nowadays, it can be tough to know which ones are really essential and will make a difference to your sewing.


However, worry not, here at Sewing Direct we’re always on hand to make your sewing experience as enjoyable as possible. Join us throughout the course of this blog as we run through some of our favourite sewing accessories available in the UK.

Sewing Machine Bags are Essential

Not only does a sewing machine bag make your machine easier to transport but it also makes it considerably easier to store. We’ve all been there where we’ve needed to quickly pack our sewing machine away for one reason or another, a bag makes it easy to make sure all the components you need are in one place. 

These bags also double up as protective cases which means your machine is less likely to be damaged in the rough and tumble of everyday life. With handheld and trolley options, you will find transporting and storing your sewing machine has never been easier. 

Topstitch Needles

If you’re looking for an additional type of needle that can do it all, the topstitch needle is a great choice to turn to. Designed to ensure that there are fewer skipped stitches, these are the perfect option for a stitch-heavy project, such as a quilt.

To get the most out of your topstitch needles, thread 2 threads at once (or use thicker thread) to perform beautiful decorative and topstitching work.

Leather Needles

Just like denim needles, leather needles are capable of stitching smoothly through some of the thickest fabrics, such as leather. Having additional needles to accompany your standard ones is a great accessory to have to hand. This means you will never be limited in what you can make. 

Bernina Big Book of Embroidery

As a part of the Bernina Big Book series, the Big Book of Embroidery is packed full of over 200 pages of helpful information and inspiration for every level of embroidering. Covering everything from basic editing functions to stitching techniques. A must-have sewing accessory for anyone looking to take up embroidery.

Bobbin Box, one of the Best Sewing Accessories

One of the best ways to do your best sewing is by being organised. Available from a handful of brands, a Bobbin Box is ideal for storing those additional bobbins you may have laying around.

Discover the best sewing accessories available in the UK, here at Sewing Direct 

Explore our full range of sewing accessories available here at Sewing Direct. Including branded accessories from Bernina, Singer and Bernette

If you have any questions about an accessory or a machine, please do not hesitate to get in touch with us and a member of our team will be more than happy to help you. 
For more sewing inspiration and tips, why not head over to the Sewing Direct Blog?

The Best Sewing Projects For Beginners

Getting started with a sewing project as a beginner can be exciting, but it can also be daunting. There are so many different projects that you can start with, as well as using different techniques, stitches and fabrics, that knowing where to begin can feel like a big decision.

Below we have found some of the best sewing projects for beginners so that you can choose the perfect project for you, and create something you can be proud of.

1. Patchwork for Beginners

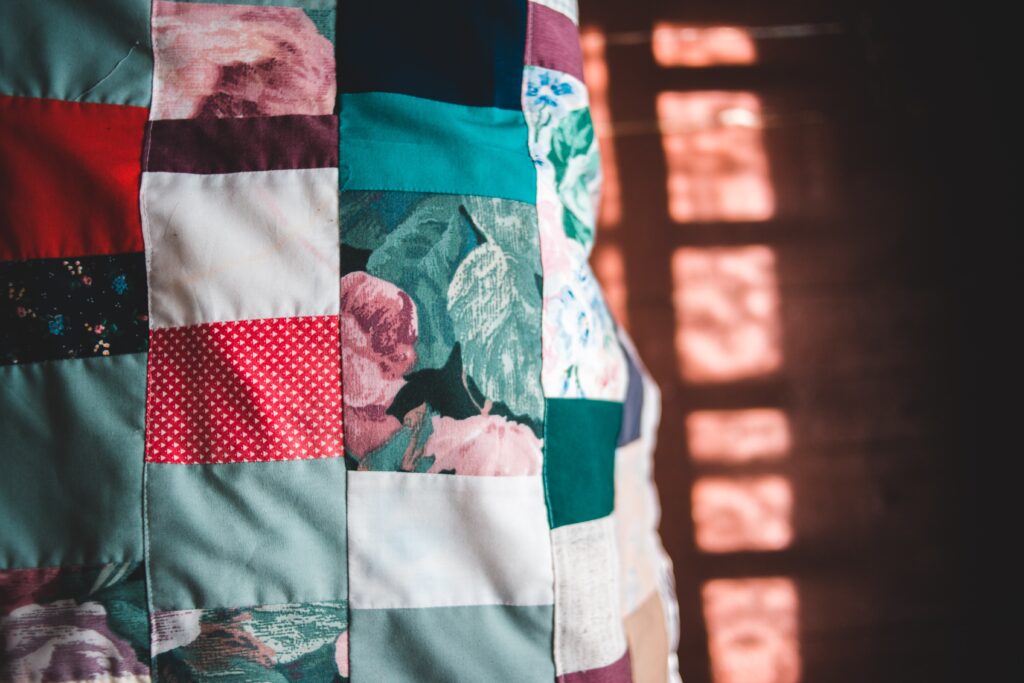
Patchwork

Patchwork is a great place to start your sewing journey. Whilst you can use a simple running stitch, the patchwork effect looks impressive, and it’s something you can show off, or make into thoughtful gifts for friends and family.

Discover an introduction to patchwork and create pillowcases, placemats or blankets to add some colour to your home.

2. Make Your Own Scrunchies

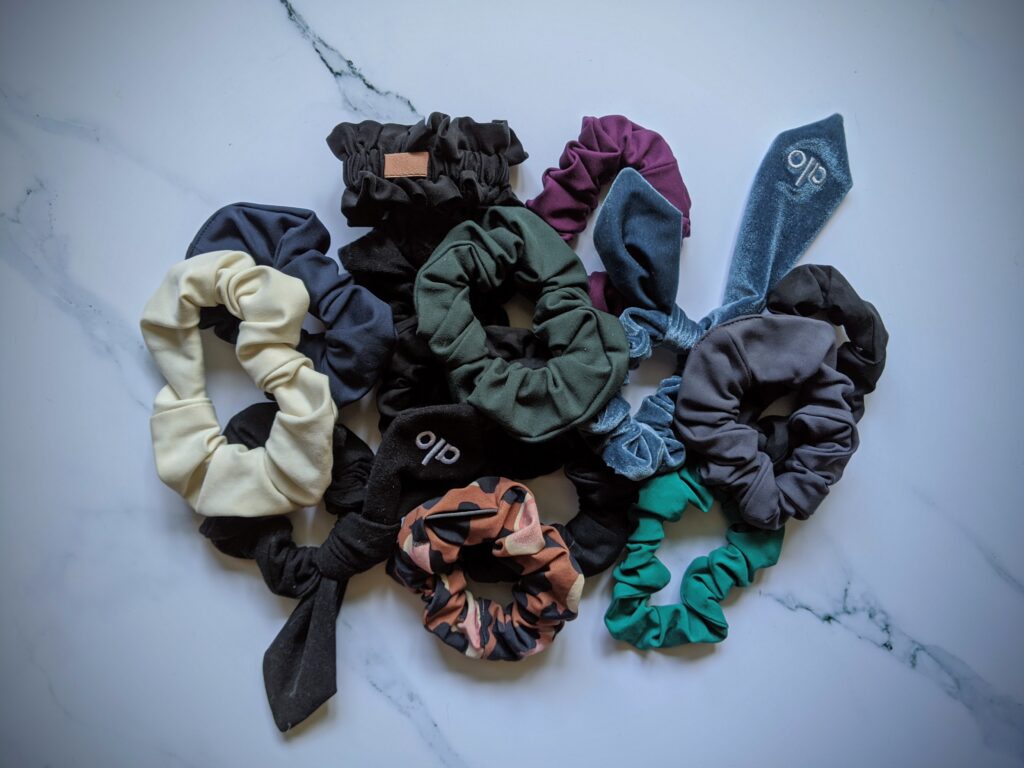
Collection of hair scrunchies

Scrunchies are a quick, easy project for a beginner, using a straight stitch to create a cute accessory that will impress your friends.

Making a scrunchie is as simple as folding a long rectangle of fabric on the long side while inside-out, and stitching lengthways. You can then flip the fabric so the stitching is on the inside of your tube and fill it with a shorter length of elastic. Stitch the fabric and the ends of the fabric into a loop to create your own scrunchie!

Velvet, satin or cotton, you can use whichever fabric you like for this, although some fabrics are easier for beginners to use than others.

3. D.I.Y Coin Purse

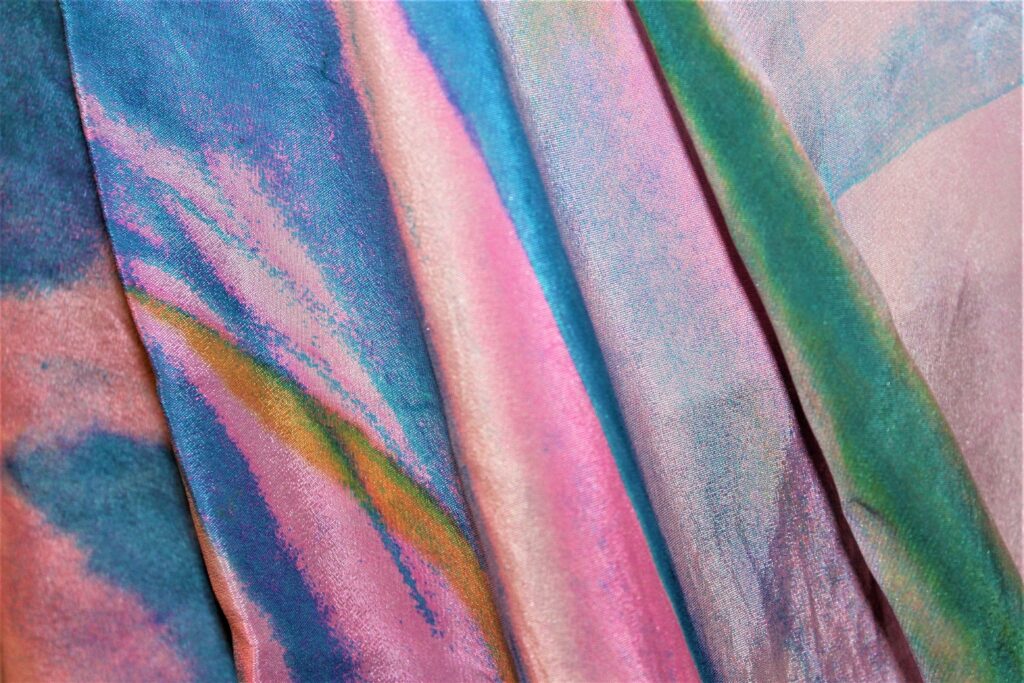
Multi-coloured fabric

Coin purses are a great starting point for sewing beginners. Whether you choose to make a drawstring pouch or try your hand at zips or poppers, a coin purse is simple but effective. 

Choose your favourite fabric and get your sewing machine set up for your first project! Once you have learnt how to sew a coin purse you can move on to bigger and better things, like making your own tote bag or handbag.

4. Create Your First Pincushion

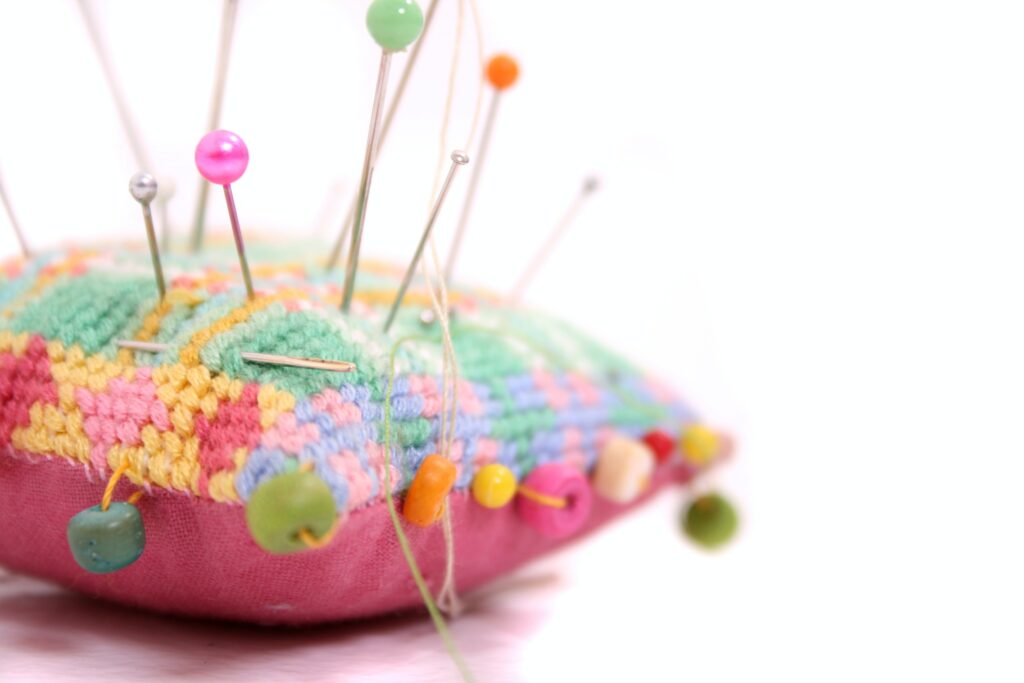
Pink Pincushion with pins in it

Now you have started your sewing journey, a pincushion is a must-have for all of your future projects. Create your own with your newfound sewing skills. 

You can use scrap fabrics for this project (including for the stuffing!), or you can start fresh with the fabric of your choice and a sturdy stuffing that will hold your pins.

A pincushion is a helpful item for your haberdashery stash, but it’s also so simple to make!

5. Follow Your First Sewing Pattern

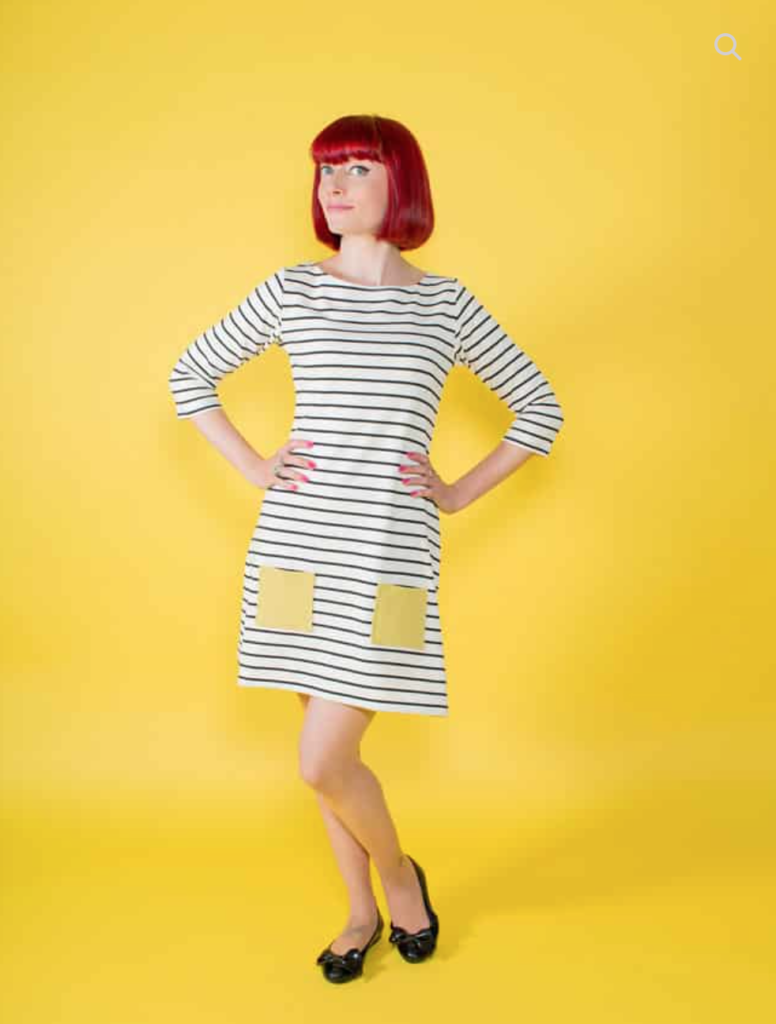
Tilly and the Buttons stipe Coco Dress with yellow pockets

Maybe the reason you started sewing is so that you could begin making your own clothing. 

Getting started with sewing patterns is a great way to start making clothing, they provide you with measurements and cut-outs to follow, as well as how-to instructions that will help you create a quality piece of clothing like this Tilly and the Buttons COCO Dress.

Start Sewing Today with Sewing Direct

Sewing is a fantastic hobby to have, and with the right training can turn into more. 

Start your sewing journey with Sewing Direct today, and discover a range of easy-to-follow sewing patterns that you can follow to create beautiful clothing.

Find the perfect beginner’s sewing machine for you, and begin creating and making at your pace. Get in touch with our friendly team for more information on our sewing machines and haberdashery, or check out our workshops for great introductory classes.

How To Sew On Buttons Like An Expert

Whether you are making your own garment, or just want to replace a loose button on a jacket, knowing how to sew a button on effectively is a relevant skill.

Buttons can be an important finish to a homemade item that takes it from homemade haberdashery to a high-quality piece of clothing that you will be proud to show off.

Sewing buttons onto your chosen garment couldn’t be easier with help from Sewing Direct.

Sewing on buttons by hand

When repairing a garment, or sewing on limited amounts of buttons, it may feel like sewing your buttons by hand will be the easiest choice, rather than getting out your sewing machine. 

Sewing buttons professionally by hand takes a little bit of time and some haberdashery tools. You will need buttonhole thread in your chosen colour, scissors, a needle the correct size for your buttonholes, buttons and your article of clothing.

For a raised button with a singular hole on the back, you should stitch in a circular motion through the button and the fabric. These buttons are best stitched by hand.

How to sew on a button with a sewing machine

Sewing buttons with a sewing machine is much faster than hand sewing a button, and can feel more secure. Sewing buttons by hand can be a time-consuming task, so using a sewing machine can be very beneficial when sewing on multiple buttons at a time.

Firstly set up your sewing machine with the correct colour of thread you would like to use, we recommend using a Singer 9985 Quantum Stylist Touch.

Next check your sewing machine accessories to see if you have a button foot, if you don’t there’s no need to worry, it would just make sewing a button on even easier as it prevents your button from moving during sewing. If you don’t have a button foot just remove the presser foot from your machine.

Now you can begin the process of sewing on your buttons! 

Line up your buttons and use a fabric pencil to mark their positions. To hold the button in place you can use clear tape to tape your button to the fabric, the needle will easily pierce the tape and it can easily be removed after you have finished.

Some sewing machines have ‘feed dogs’ on the bottom plate of your machine, these can be lowered to prevent your fabric from moving as you stitch your buttons. For sewing machines like the Bernette 77 Sewing Machine, your feed dogs should lower automatically when the button function is selected.

Next, you can choose your stitch, some machines may have only one option for this. For machines that do not have a button function, you can use a regular zig-zag stitch.

Position your needle above the leftmost buttonhole and lower the foot into place to keep your button secure while you stitch. If your needle goes straight through the middle of each hole when tested then you are ready to add your thread and get stitching, sew 8-9 stitches for an expert finish.

Finally, you can remove the tape that was securing your needle and pull the remaining thread through to the back of the button using a hand needle and knot it securely against the fabric.

Once you have done this a few times you will find that you will get faster at the process.

Now you know how to sew a button using a sewing machine.

Shop Sewing Machines with Sewing Direct

If you are just starting out on your haberdashery journey, or are looking to update your sewing machine, discover our range of sewing machines at Sewing Direct to help you with your sewing projects. 

If you don’t know where to begin then get in touch with our friendly team with any questions or queries you may have.

How to Sew Patches, Badges & Labels

When you have patches, badges or labels that you would like to sew on to an item of clothing it can be difficult to know where to begin. There are so many stitches and fabric choices that it is important to pick the correct technique to avoid damaging the fabric or the patch you are sewing.

No matter if you are planning to sew by hand or with your trusty sewing machine, this guide is here to help. From discovering the correct haberdashery to knowing what stitches to use and when, we’re here to help.

How to sew badges and patches

When receiving a new patch or badge you may be tempted to resort to fabric glue instead of sewing, but fabric glue can warp the shape of the patch and underlying fabric over time as well as losing its stick when put through a wash cycle. Sewing badges and patches is much more secure, and when done correctly can last for years.

Sewing Patches and Badges with a Bound Edge

Bound edges are common in badges and some patches, and they can be challenging to sew through as the edges are so tightly bound. As sewing through the bound edge can either break the needle of a machine or leave you with sore fingers after trying to push the stitches through, the best options are usually to stitch alongside the bound edge, or over the edges.

If you are planning to hand stitch a badge with a bound edge then a whip stitch may be your best option. This will be your best option if you are trying to sew onto a pocket that your sewing machine can’t reach.

Sewing a patch or badge with a bound edge using a machine is quicker if you have multiple to sew at any given time. Choose a zig-zag stitch and set it so the stitches are landing on either side of the bound edge, securing it without trying to sew through the edge itself, which could break your sewing machine needle.

If your sewing machine is an older model, or a straight stitch is your preferred stitch, stitch along the inside of the edge using a similar colour to the background of the badge or patch. 

Sewing onto knitted fabric

Knit fabrics are made of interwoven loops, making them more flexible and stretchy than woven fabrics. If you are looking to sew patches on woollen jumpers you should make sure you have a sturdy backing or interfacing on the inside of your fabric to hold your knitted fabric firm and ensure no warping of the fabric happens mid-stitch.

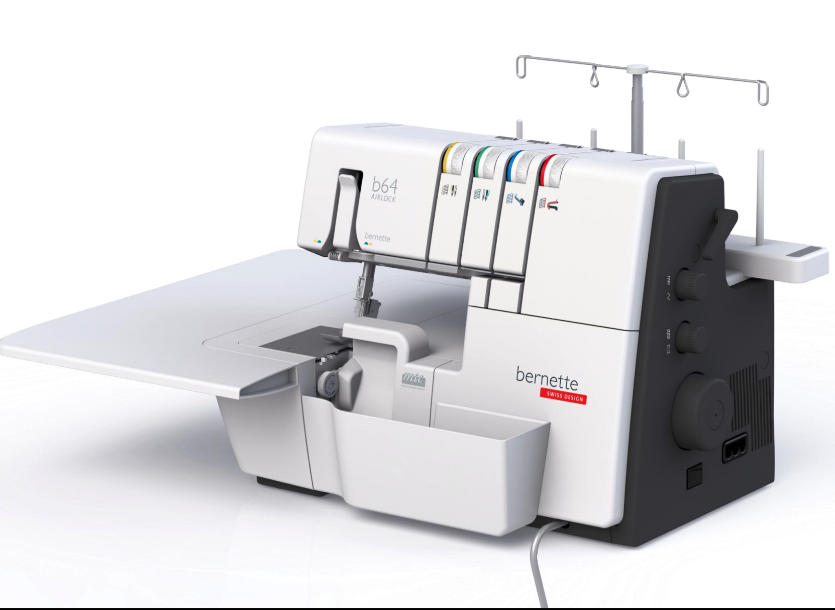
For any internal stitching on knitted fabrics, an overlock sewing machine would be helpful, however for an external addition to your knitted item you could use any sewing machine as long as the fabric will fit. The interfacing will provide a strong background to your stitches, allowing you more options when it comes to choosing your stitches.

Knitted fabric is more delicate than woven fabric in that it is very easy to pull or cut a stitch accidentally. First, pin your interfacing onto the inside of your knitted garment. 

Next, try using a jersey or ballpoint needle, the rounded tip won’t snag on any knitted fibres. If you don’t have a ballpoint needle to hand try out the needles you do have on an inconspicuous area of your fabric to test out which works best for you.

Finally use a stretch stitch or zig-zag stitch along the edges of your patch or badge, the zig-zag format works against the natural elasticity of your knitted fabric. You may want to test different stitch lengths on a hidden piece of your fabric first to make sure you get it right when you begin sewing the patch.

How to sew labels onto garments

Knowing how to sew on clothing labels can be useful if you have started to make clothing, either as a hobby or to sell. Labels remind people of where they found your brand, or what the washing instructions for that particular item are.

Hand stitching a clothing label

Hand stitching a clothing label is more delicate than using a sewing machine might be. Firstly you should find your smallest needle and thread for the task, you want your label to look seamless. 

Positioning your label should be an easy task. If you are looking to sew a neckline label, measure an equal distance between the shoulders, or line it up with pre-existing buttons or zips. Once you have found your ideal label position, pin it in place to secure it.

Start stitching your label by adding secure stitches to the two top corners of the label. If you’re planning to completely secure the label on all four sides you can add secure stitches to all four corners at this point.

Now you can border stitch along the sides you wish to secure. To create a secure border you can use a variety of border stitches, from a regular running stitch to more decorative stitches such as a blanket stitch, they’re easy to learn.

Hand stitching is a great way to secure a label, but if you plan to stitch multiple labels a machine may save you time.

Machine sewing clothing labels

Sewing labels using a machine is much faster if you are looking at stitching multiple labels at the same time. 

To be able to sew your label with a sewing machine your label needs to be big enough for the stitch length of your machine, if the label is smaller than the foot of your sewing machine you will not be able to hold it in place as you stitch. If your labels are too small you can hand stitch the corners of your label to secure it before running it under your sewing machine, this will prevent it from moving around.

When using a sewing machine to label clothing there are a few things to remember:

  • Always run a piece of scrap fabric through your machine first, you don’t want to find out there’s an issue with your sewing machine mid-labelling.
  • Lock in your ends. When you begin to run your label under the sewing machine lock the first corner in with a few backstitches before continuing to forward stitch. Repeat this process when you reach the end of your label, it helps to make sure each corner is secure.

Shop Sewing Machines and Haberdashery with Sewing Direct

Discover our range of sewing machines and haberdashery products at Sewing Direct to help you complete your sewing projects with ease. If you’re not sure where to start, get in touch with our helpful team for help with any questions or queries you may have.

Sewing Brand Spotlight: Baby Lock

Baby Lock is the newest addition to the Sewing Direct catalogue, bringing a wide range of sewing machines and accessories perfect to suit your sewing needs whatever your project or skill level is. 

What is Baby Lock?

Founded in 1946 by Nick Tacony, the Baby Lock mission was to create a smaller and more convenient overlock serger, compared to the ones available at the time. Over the next 50 years, Baby Lock continued to grow, developing over 14 patents. 

Since then, Baby Lock has gone on leaps and bounds, introducing over 12 new models and systems, online sewing classes and even app-based technology, making it a great choice for those looking to invest in their newest sewing machine.

Why should I choose a Baby Lock sewing machine? 

With so many different models available in the Babylock collection, there is something for everyone. Whether you’re a beginner starting out on your sewing journey, or an expert sewer looking to expand your collection with a new machine, Baby Lock is the perfect choice to make your next creation come to life. 

We have put together a short list of the top 3 Baby Lock products that are worth taking a look at if you are on the hunt for a new sewing machine. 

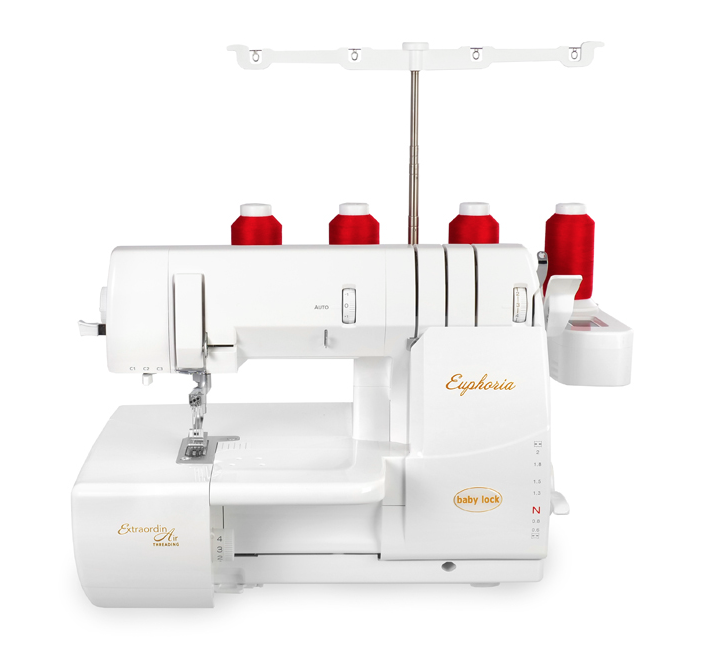
Baby Lock Euphoria

Baby Lock Euphoria is a great option for those wanting to perfect their cross stitch. With features including an automatic thread delivery system, an air threading system for the looper and a needle threader – it’s the perfect tool to bring your creations to life. 

This  Baby Lock sewing machine is especially great for sewing larger pieces of fabric meaning there is even more scope to get creative no matter what you want to make. Also great for use with a multitude of different threads, from yarn to ultrathin thread – the euphoria will ensure your projects are looking expertly sewn. 

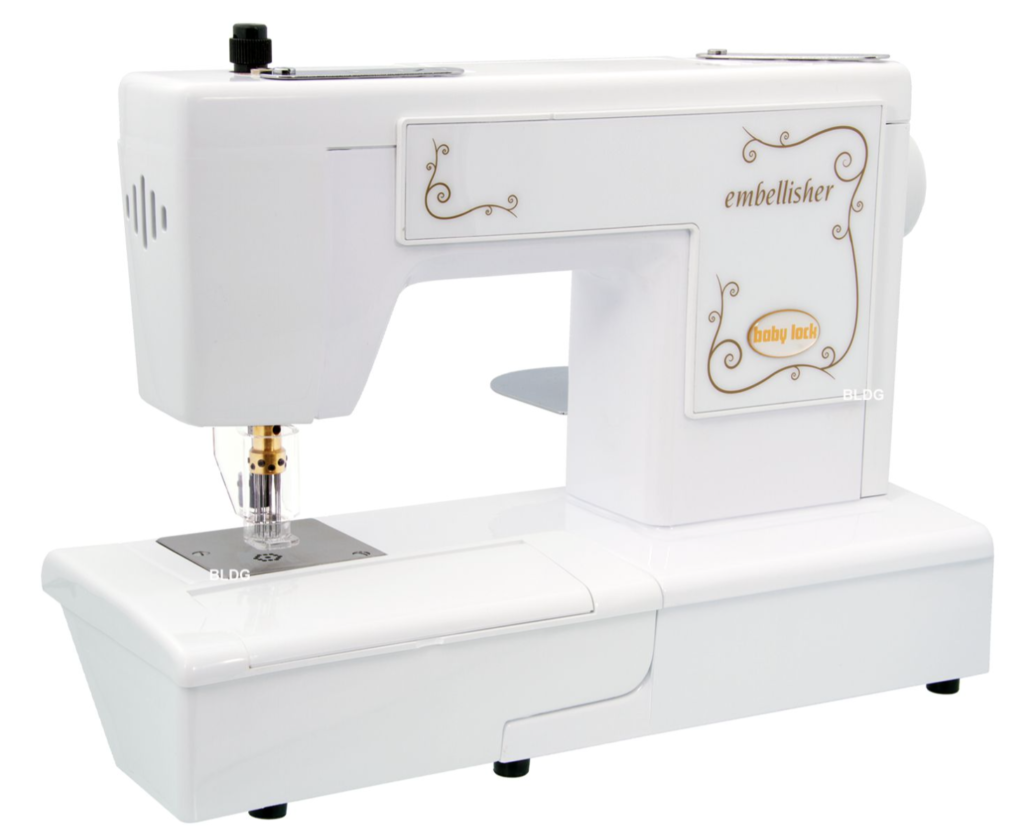
Baby Lock Embellisher – Felting machine

Perfect for beginners and experts wanting to get creative with felt – the Baby Lock Embellisher Felting Machine is perfect for creating gifts for your family and friends. The only felting machine on the market with an automatic feed feature. 

The built-in yarn guide feeds yarn continuously through the middle of the needle head whilst guiding it through the machine’s yarn pot directly to the needle. This leaves your hands free to move the fabric in any direction, guiding the yarn to your desired place.

With easy clean features and 12 barbed felting needles to use across different fabrics, this is a great Baby Lock sewing machine for those wishing to experiment with felting projects. 

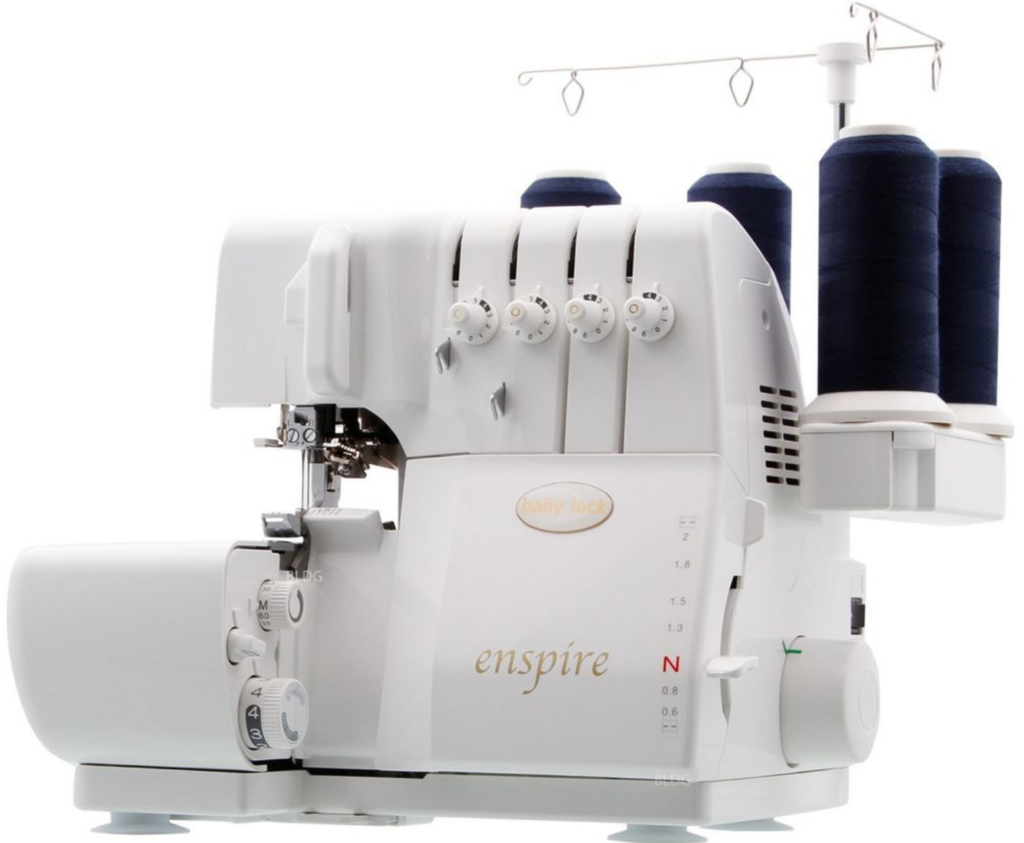
Baby Lock Enspire – Overlocker – Air Thread

With four stitches and over 1500 stitches per minute, the Baby Lock Enspire Overlocker Air Thread can get your creations brought to life in no time! Featuring a unique tubular system and industry quality extra strong loopers, you can be confident knowing the Baby Lock Enspire can handle projects from small to more difficult tasks. 

Ready to start your Baby Lock journey?

We are excited to now stock a range of Baby Lock sewing machines and accessories for all skill levels. Get in touch today if you have any questions on our ranges, or give our Mansfield shop a call on 01623 626478 to arrange a demonstration. 

Here at Sewing Direct, we have many different sewing machines available from brands including Singer and Bernina, so you can get creative no matter what your preference of machine is. 

The Beginner’s Guide to Quilting with a Machine

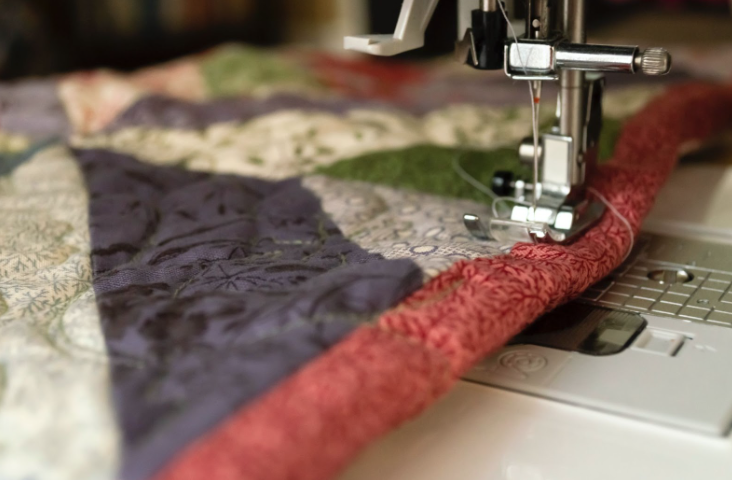
When deciding you want to begin machine quilting for the first time, it isn’t always as easy as just picking up the machine and getting going. Quilting requires a great deal of practice and patience. This guide is full of tips and tricks for showing you how to make a patchwork quilt.

Our top tips and tricks for making a quilt with a machine

Start small

The key thing to remember is that starting small doesn’t mean your quilt won’t be as fantastic as you hope, it means you can save yourself the frustration down the line with copious amounts of fabric you struggle to manage. We suggest that a good size is between 36-50 inches of fabric as the best size for starting out. 

Safety pins will be your best friend

Even the simplicity of laying everything flat ironed, and over-pinned can make a huge difference when flattening out the layers of fabric and will help give you more visibility when sewing with the machine. 

Stay simple

Keeping a simple pattern will help you keep your quilt neater as when starting out, it’s not out of the ordinary to cross over the lines frequently. When mixing a lack of experience with a complex pattern, you could find yourself confused and mixed up.

Sew in the same direction

As well as starting in the centre and working outwards, we also recommend sewing in the same direction each time to avoid unwanted texture and pulling, which can cause a great deal of tension across all the quilt.

Experiment

Remind yourself that trial and error is perfectly ok. Before you get going, it’s good to create some test pieces to familiarise yourself with the processes required without having to worry about messing up on your first proper quilt attempt.

Go Slow

Sewing is as much a test of patience as skill. Slamming your foot down and getting it done as quickly as possible will result in the fabric puckering and becoming very untidy. A good thing to remember is that slow and steady wins the race when it comes to sewing.

Remember to have fun

It can be intimidating when getting started on a quilting project, especially not knowing all the tips and tricks. However, it is important to remember that practice makes perfect, and skill will develop over time. To kickstart your skill development in quilting, check out our lessons page to learn more about quilting and many other sewing skills. 

Get Started with Making Your Patchwork Quilt with Sewing Direct

We have a wide range of machines perfect for quilting, especially our Bernina S-570qe or the Bernina S-590 along with many other options suitable for your needs.

Be sure to check out our Patchwork & Quilting products to enhance your hobby further.